Are you struggling with a cluttered kitchen? Let’s embark on a journey of decluttering and organizing your kitchen with our easy and practical ‘7 steps for organizing kitchen cabinets‘.
This guide is designed to transform your kitchen into a neat and inviting space where every utensil has its place. This organization not only makes your cooking flow smoother but also makes cleaning up a breeze.
So, let’s dive into these steps and turn your kitchen into a place where you’ll love to spend time cooking up delightful dishes!
An orderly kitchen is not just about aesthetics; it’s about efficiency and reducing stress. When your kitchen cabinets are well-organized, you spend less time searching for that elusive spice or kitchen gadget, and more time focusing on creating delicious meals.
A well-structured kitchen also makes cleaning and maintaining your cooking space considerably easier. Now, take a deep breath and get ready as we unfold the journey towards an organized kitchen.
7 Steps for Organizing Kitchen Cabinets
Our 7 steps will guide you through cleaning out your cabinets, categorizing your kitchen items, and deciding on the perfect spot for each one.
We’ll also share practical tips on how to utilize organizers for maximum space efficiency and how to maintain this newly achieved orderliness.
Get ready for a seamless, step-by-step kitchen transformation that will make your culinary adventures more enjoyable.
Step 1: Empty your Cabinets
The first step towards any organizational project is to start with a clean slate. Take everything out of your cabinets and give them a good wipe-down. This will not only clear out any accumulated dust or debris but also allow you to assess the available space for better planning.
Plus, you may come across items that you no longer use or need, making it easier to declutter and free up space in your kitchen.
Step 2: Sort and Categorize Items
Now that you have all your kitchen items laid out, it’s time to group them into categories. This will depend on your cooking habits, the size of your kitchen, and the number of items you have.
Here are some suggested categories you might consider:
Cookware: This would include pots, pans, baking trays, and casseroles. If you have a lot of these items, you might want to further categorize them based on their function, such as frying, roasting, baking, etc.
Utensils: This category includes items like spatulas, ladles, tongs, whisks, and other tools you use for cooking. You could further subdivide them into cooking and serving utensils if it makes sense for you.
Dinnerware: All your plates, bowls, cups, and glasses go into this category. You might want to segregate them based on their usage like daily use, special occasions, etc.
Food storage: This is for all your Tupperware, mason jars, and other food storage containers. Don’t forget the matching lids!
Small appliances: Items such as your toaster, blender, coffee maker, and other small appliances can go into this category.
Baking supplies: If you bake often, you might want a separate category for baking supplies like mixing bowls, measuring spoons, baking pans, etc.
Spices and Dry Goods: These are your jars of spices, salt, pepper, and other dry goods like pasta, rice, and flour.
Remember, the goal is to create a system that works for you. So, feel free to customize these categories based on your unique needs and cooking habits.
Once you’ve sorted your items into categories, it’s time to move on to the next step of organizing them into your cabinets.
Step 3: Clean the Cabinets
Before placing your items back into the cabinets, it’s essential to give them a thorough cleaning. This will create a fresh, clean environment for your kitchen items and help prevent the buildup of dust, grease, and bacteria.
Here’s a simple guide on how to properly clean your kitchen cabinets:
Prepare your cleaning solution: Mix a solution of warm water and a mild dish soap. Alternatively, for heavy grease buildup, you can use a vinegar solution (1 cup vinegar to 2 cups of warm water). If your cabinets are wooden, consider using a specialized wood cleaner.
Start scrubbing: Dip a soft cloth or sponge in the cleaning solution and wipe each shelf and the interior sides of the cabinet. Pay special attention to the corners and edges.
Clean the exterior: Don’t forget the cabinet doors and the outside surfaces. Make sure to wipe the handles or knobs as these are high-touch areas.
Rinse and dry: After scrubbing, rinse the areas with a damp cloth to remove soap residues. Then, dry the cabinets thoroughly with a clean towel to prevent moisture damage.
Replace the shelf liners: If you were using shelf liners, now might be a good time to replace them with new ones. They add an extra layer of cleanliness and make it easier to clean next time.
Cleaning doesn’t have to be a chore. Put on some music, roll up your sleeves, and you’ll have shiny, clean cabinets in no time!
Step 4: Evaluate and Optimize your Storage Space
Maximizing your storage space is key to a well-organized kitchen. Each cabinet should serve a specific purpose and the items within it should be easily accessible. Here are a few tips to optimize your cabinet space:
Use Adjustable Shelves: Using adjustable shelves allows you to customize the height of your shelves to fit your items perfectly. This allows you to utilize the full height of your cabinet, avoiding wasted space.
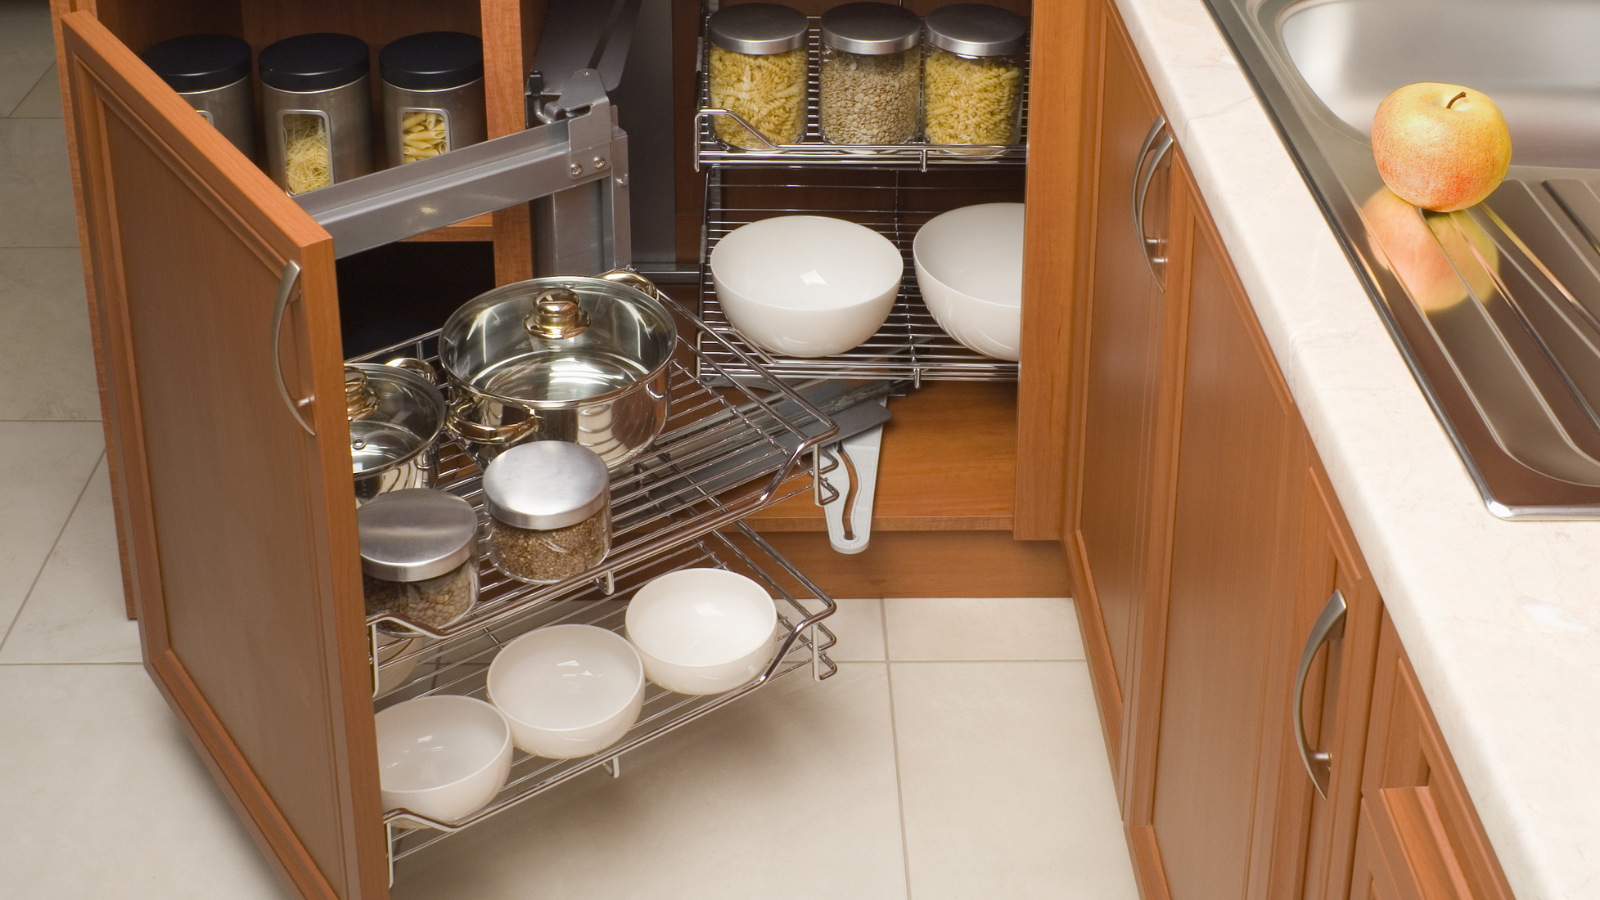
Install Pull-Out Drawers: If your cabinets are deep, installing pull-out drawers can make it easier to reach items at the back. It also allows you to see everything at a glance, eliminating the need to rummage through piles of pots and pans.
Add Shelf Risers: Shelf risers can double the storage space in your cabinets. They are especially useful for storing plates, bowls, and glasses.
Use Door Organizers: The inside of your cabinet doors can serve as extra storage space. Install hooks for hanging utensils or small baskets for storing spices and other small items.
Group Similar Items Together: Keep items of the same category together in the same cabinet. This not only makes it easier to find what you need but also gives you an idea of how much space you need for each category.
Decant Bulky Packages: Transfer dry goods like pasta, rice, and cereals into clear, airtight containers. They’ll take up less space and make it easier to see what you have and how much is left.
Store Less Frequently Used Items Higher: If you have tall cabinets, use the higher shelves for items you don’t use regularly. This keeps the lower shelves free for everyday items.
Remember, the aim is to create a functional space that suits your specific needs. Don’t be afraid to experiment and adjust your storage solutions until you find what works best for you.
Step 5: Choose Organizational Tools
Choosing the right organizational tools and containers can make all the difference in maintaining a tidy and user-friendly kitchen. Here are some pointers to guide you in your selection:
Consider the Material: When selecting containers, consider ones made from clear plastic or glass. These materials allow you to easily see what’s inside, making your search for ingredients or tools quicker.
Size Matters: Choose containers that will fit comfortably within your cabinets or drawers. Measure your space before shopping to avoid any sizing issues.
Lid or No Lid: Containers with lids are excellent for storing food items as they keep them fresh longer. For tools and cookware, opt for open-top bins for easy access.
Versatility: Look for adaptable and multi-functional organizers. Items like adjustable drawer dividers or expandable shelf risers can be customized to fit your space and needs.
Ease of Cleaning: Select organizational tools that are easy to clean. Removable trays or liners can be a big help when it comes to maintaining cleanliness.
Durability: Opt for high-quality, durable containers and organizing tools. They might cost a bit more upfront, but they will withstand wear and tear, proving to be cost-effective in the long run.
Aesthetics: While functionality is primary, it’s okay to consider how your organizational tools look. Selecting items that fit your kitchen’s decor can make the space feel more cohesive and pleasing to the eye.
Remember, what works in one kitchen may not work in another. Trust your instincts and choose the organizational tools and containers that best suit your space and your cooking habits.
Step 6: Arrange Items by Frequency of Use
The key to a well-organized kitchen lies in arranging your items based on the frequency of their use. You should have quick and easy access to the tools and ingredients you frequently use, and less frequently used items should be stowed away neatly until needed.
Here’s how to arrange items by usage:
Identify Frequently Used Items: Start by making a list of tools, utensils, and food items you use on a daily basis. Things like your favorite spatula, chopping board, or seasoning spices probably come under this category.
Accessible Locations for Daily Items: Store these frequently used items in easy-to-reach places. For example, cooking utensils should be near the stovetop, and everyday dishes should be in a cabinet at arm’s level.
Less Frequently Used Items: Identify the items you use less frequently – perhaps once a week or less. This might include baking tools, special occasion dishes, or gourmet ingredients.
Storage for Less Used Items: Allocate storage space for these items that is out of your immediate reach but still accessible. This could include higher shelves in your cabinets or the back of deep storage spaces.
Rarely Used Items: Identify items that you rarely use. Some items might only be used for annual holiday meals or large dinner parties.
Put Infrequently Used Items Out of the Way: Store these rarely used items in the least accessible areas of your kitchen. This could be the topmost shelves or storage spaces outside the kitchen if you’re short on space.
Re-Evaluate and Adjust: Over time, your cooking habits might change and something stored in the back might become a frequently used item. Re-evaluate your arrangement every few months and make changes as necessary for your convenience.
After you’ve done this, you’ll find it’s much easier and quicker to prepare your meals. Your kitchen will also feel more spacious and less cluttered. Happy Organizing!
Step 7: Maintain your Organized Cabinets
Maintaining your organized kitchen cabinets is an ongoing process, but with some smart strategies, you can keep them tidy and clutter-free over time. Here are some tips for sustained cabinet organization:
Establish a Routine: Regularly declutter, clean, and reorganize your cabinet. It could be daily, weekly or monthly, depending on your schedule and needs. This consistent attention prevents disorder from accumulating.
Follow the ‘One In, One Out’ Rule: Whenever you bring in a new item, whether it’s a gadget, utensil or ingredient, make sure to remove an old or unused item to maintain balance in your cabinet space.
Use Labels: Labels help you remember where things go, making it easier to put items back in their right places. They can also be useful for others in the household who are helping to tidy up.
Stick to Your System: Once you have a system for organizing your cabinets, stick to it. Consistency is key in maintaining an organized space.
Reassess Regularly: Over time, your cooking habits, dietary preferences, or household size may change. Regularly reassess your cabinet organization to make sure it still works for you.
Remember, patience and consistency are key when maintaining your kitchen cabinets. It might take some time to get used to a new organization system, but once you do, you’ll enjoy the benefits of a tidy, well-organized kitchen.
In conclusion, a well-organized kitchen can drastically enhance your cooking experience and the overall ambiance of your home. These seven steps are a comprehensive guide to decluttering, organizing, and maintaining your kitchen cabinets.
But remember, the essence of successful organization lies in personalization. Your kitchen should resonate with your cooking habits, preferences, and lifestyle. Don’t be afraid to tweak these steps to fit your needs, and don’t get discouraged if everything isn’t perfect right away.
With patience and consistent effort, you’ll be able to create and maintain an organized kitchen that not only looks great but also makes preparing meals a joy. Happy organizing!